I normally build furniture, not restore hand tools. So naturally, I decided to restore an enormous Japanese saw, learn how to sharpen it, make a replacement handle twice, and then find out whether I could actually use the thing.
This is an Ooga, also called a maebiki or whaleback saw. It is a rip saw, meaning it cuts with the grain rather than across it. Traditional Japanese woodworkers used these for jobs like cutting slabs and posts. Hipster American woodworkers also seem pretty fond of them. I will let you decide which category fits me.
The plan was to bring the steel back, give it a beautiful new handle, and put it to work. The lasers were the straightforward part. My own design decisions needed considerably more attention.
Starting With Rusty Steel and a Worn-Out Handle
The original handle had a great look, but it was in rough shape. I cut through its wrapping, worked the wood apart, and removed it to expose the tang, the steel extension that fits inside the handle.
Underneath, the news was pretty good. There was plenty of surface rust, but the steel itself looked solid enough to make this worth attempting.
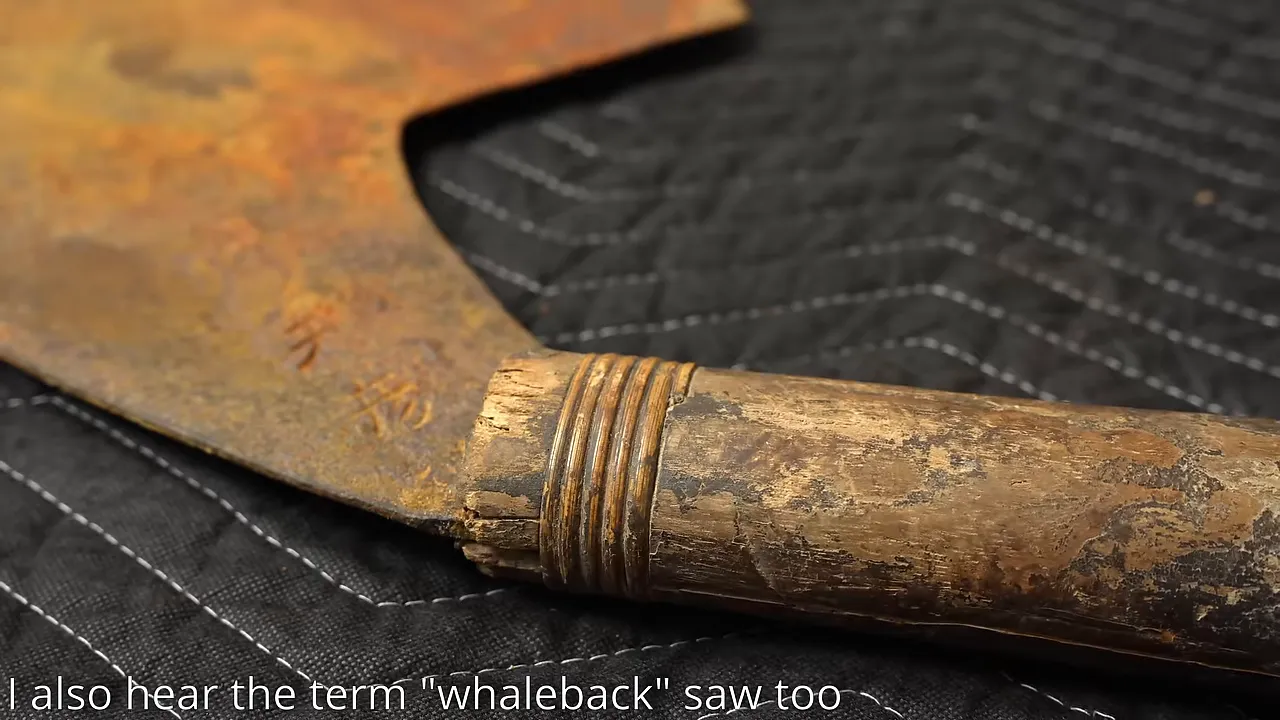
I wanted to keep the character of the old blade while adding something a little more modern. That is generally how I approach restoration. I am not opposed to originality, but I also do not think owning an old tool means signing a contract never to change anything.
My first idea was a sculpted spalted maple handle. Beautiful wood, dramatic black lines, a polished finish. What could possibly go wrong?
Stabilizing Spalted Maple for a Tool Handle
Spalted maple is not a separate species of maple. The distinctive lines and discoloration come from fungal activity in the wood. Unfortunately, the same process that makes it interesting can also make it rotten.
There is a useful middle ground where the figure looks great and the wood still has enough structure to work with. My stock was fairly solid by spalted maple standards, but I wanted to stabilize it before turning it into a tool handle.
Stabilizing gets resin into the wood and then cures it, making soft material harder and more usable. It is a process commonly associated with knife handles and other small wooden parts. It was also something I had never done before, which was apparently the theme of this project.
Drying the blanks first
I cut several potential handle pieces so I would have options. The first step was drying them thoroughly in a dedicated toaster oven. My approximate drying schedule was 200°F for about 12 hours.
Those are the numbers I was working from, not a replacement for the resin manufacturer's instructions. Drying and curing are separate steps, and the correct procedure matters. The Cactus Juice manufacturer is a better reference for product-specific directions than my first experiment.
After drying, I sealed the blanks in plastic bags to keep them from picking up ambient moisture while they cooled. A dedicated shop oven also saves you from having to explain why there is spalted maple in the kitchen.
Vacuum, resin, and heat
I submerged the blanks in Cactus Juice stabilizing resin, weighted them down, and put the container into a vacuum chamber.
This is a heat-curing stabilizing resin, not ordinary two-part casting epoxy. Pulling a vacuum removes air from the wood, which produces a surprising amount of bubbling. The drying had already dealt with moisture. Here, I was pulling out air.
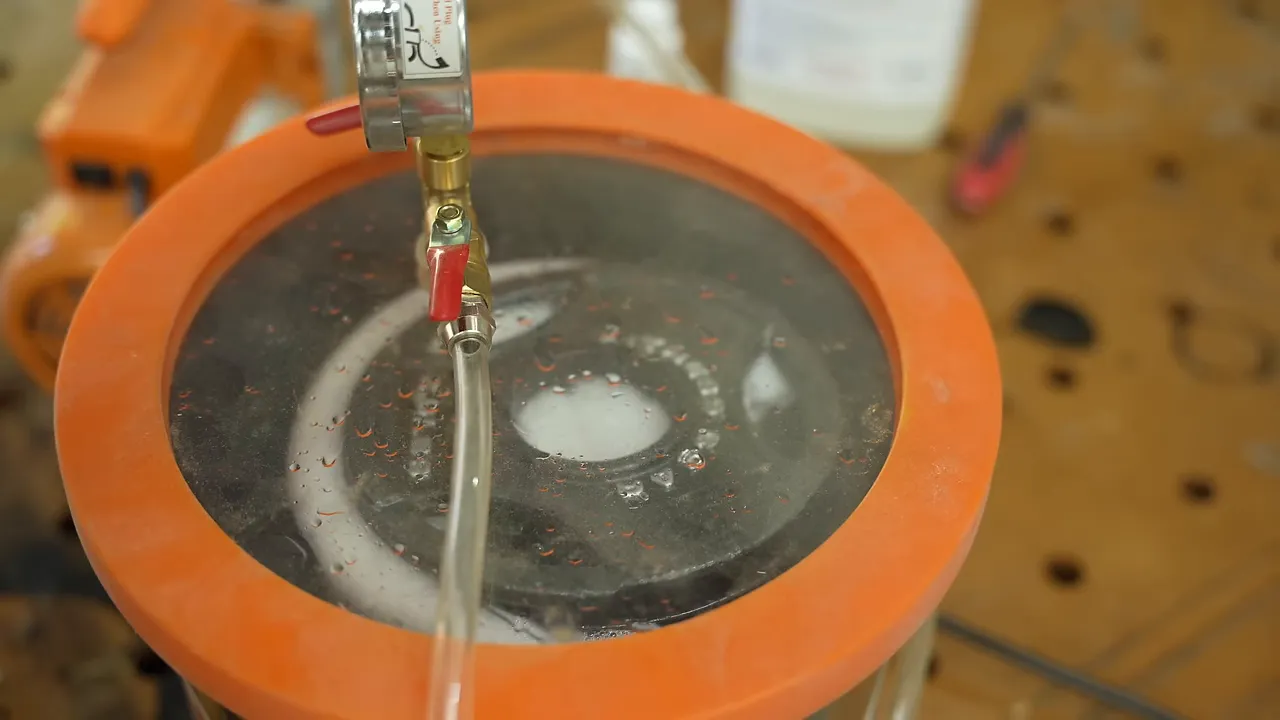
The bubbling took hours to settle down, and I gave the vacuum-and-soak process roughly a day overall. After the vacuum stage, the wood needed time to absorb resin before curing.
Then I removed the blanks, wrapped the selected pieces in foil, and returned them to the toaster oven to heat-cure the resin. Again, the resin's specified curing schedule is the one to follow. My intended result was a much harder wood-and-resin blank without the soft areas that make untreated spalted material questionable for a working handle.
Once cured, I flattened and thicknessed the pieces and selected the two I liked best.
Removing Rust With Lasers
There are plenty of clever ways to remove rust. Batteries, chemical baths, abrasives. All very reasonable. But none of those involve lasers, so I contacted a local laser rust removal company.
I am not going to pretend I can explain the physics in useful detail. A professional moved the laser over the blade, and the orange rust disappeared, leaving gray steel behind. That much I understood, and it was incredibly satisfying.
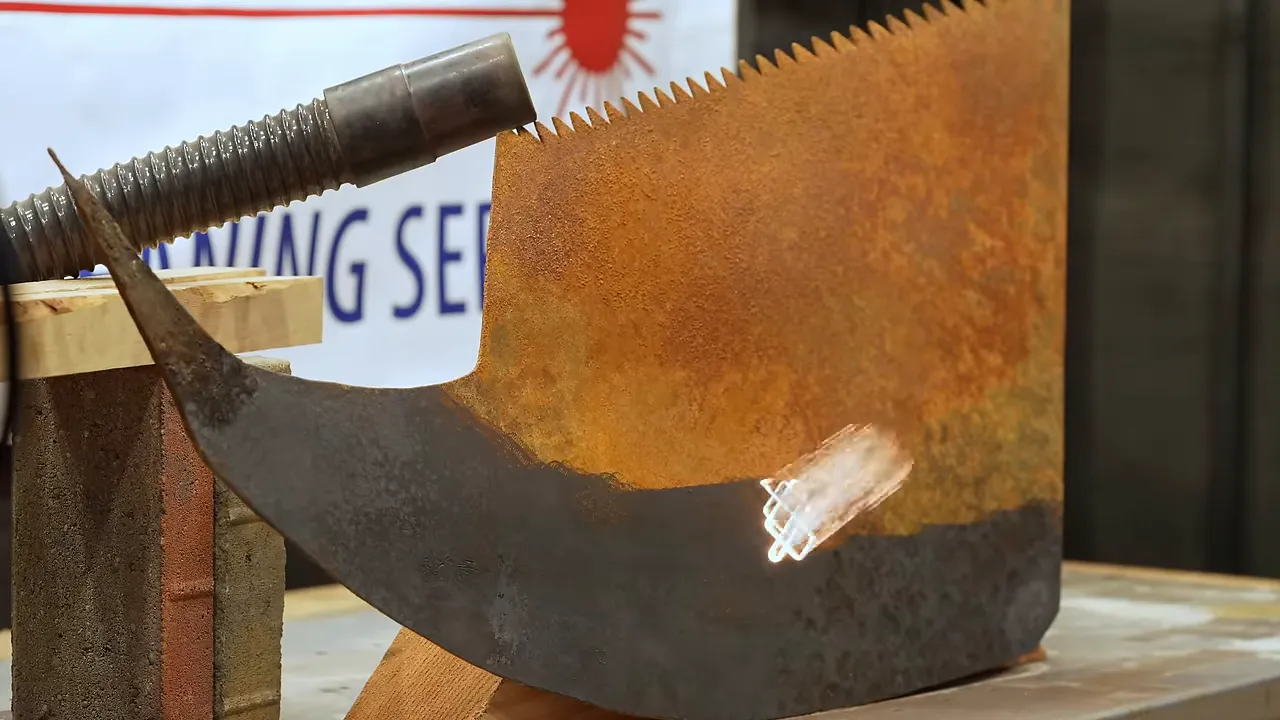
I like embracing technology in woodworking. Earlier, I had experimented with dry ice blasting to remove rotten wood. This was another example of a modern process helping with an old material rather than somehow making the work less legitimate.
Maybe someday I will complain about AI-powered furniture-building robots and explain that, back in my day, a man programmed his own CNC. For now, I am enjoying the lasers.
The cleaning also revealed the maker's marks. Hap from Nano Hone and his wife helped interpret them for me as Ooga Amahiko, made in Shiga Prefecture. Knowing a little more about where the saw came from made the restoration that much more interesting.
And yes, after having the blade laser-cleaned, I brought it home and used an angle grinder and orbital sander on it. The surface finish still was not quite what I wanted, so I kept working it. Whether that makes the laser treatment excessive is a question I am comfortable leaving unanswered.
Fitting a Handle Around Hand-Forged Steel
The tang was hand-hammered, which meant its thickness and texture varied along its length. A perfectly uniform recess was not going to fit every part of it like a glove.
I traced the tang onto the maple handle halves, removed most of the material with a trim router, and cleaned up the recess with a chisel. The fit needed to account for the irregular steel rather than assuming it was a flat piece of modern stock.
Resin would fill the remaining uneven spaces during final assembly. I also planned to add a knife-style pin for mechanical security.
With the handle blank glued up, I cut the outline on the bandsaw, refined it on the belt grinder, and continued shaping it with hand tools. I was trying for a comfortable grip with a little more personality than the original.
At that stage, I was not especially happy with the shape. I assumed more work would fix it. This is an excellent strategy right up until it isn't.
Sharpening the Giant Rip Saw
I had never sharpened a hand saw before. My preparation consisted of finding a useful lesson from Wood By Wright and developing the confidence that comes from knowing almost nothing about how much work is ahead.
A proper saw vise supports the blade during filing. I did not own one suitable for this shape, so I jointed two pieces of white oak, screwed them together around the blade, and clamped the assembly to my workbench. The teeth projected above the oak where I could reach them.
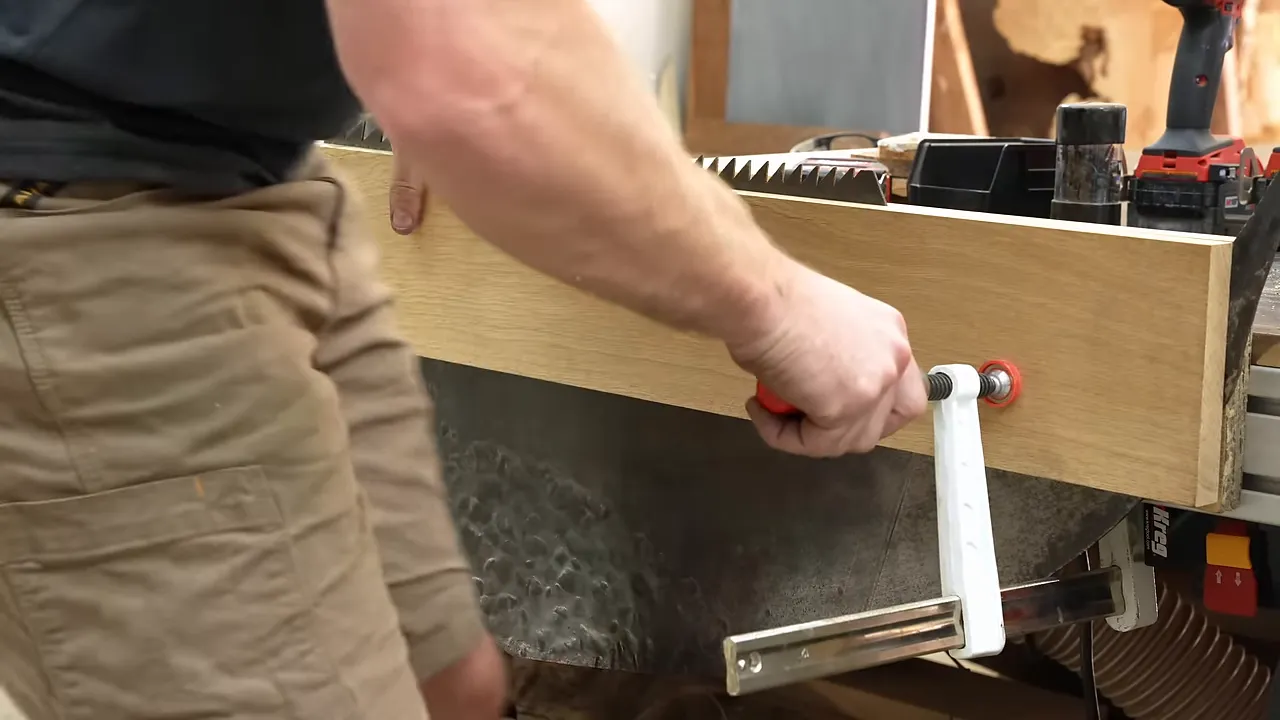
The basic sequence I followed was:
- Joint the teeth: File across the tops to bring them to a common height.
- File the tooth faces: Work through the row, restoring clean cutting geometry.
- Turn the blade around: Complete the corresponding filing from the other side.
- Check the result: Look for consistent, clean edges rather than assuming shiny automatically means correct.
The idea was to make each rip tooth work like a tiny chisel. Understanding that concept was easy. Repeating it across an entire giant saw took considerably longer.
I used a regular file I already owned to remove material from the tooth tops. It was probably a little aggressive, but there was a fair amount to take off. For the individual teeth, I bought a Japanese feather edge file on Hap's recommendation.
That specialized file was not particularly fast, but it left a clean surface and fit the work well. Each tooth took a couple of minutes. The first side alone took roughly an hour and a half, after which I had the pleasure of turning the whole assembly around and doing more filing.
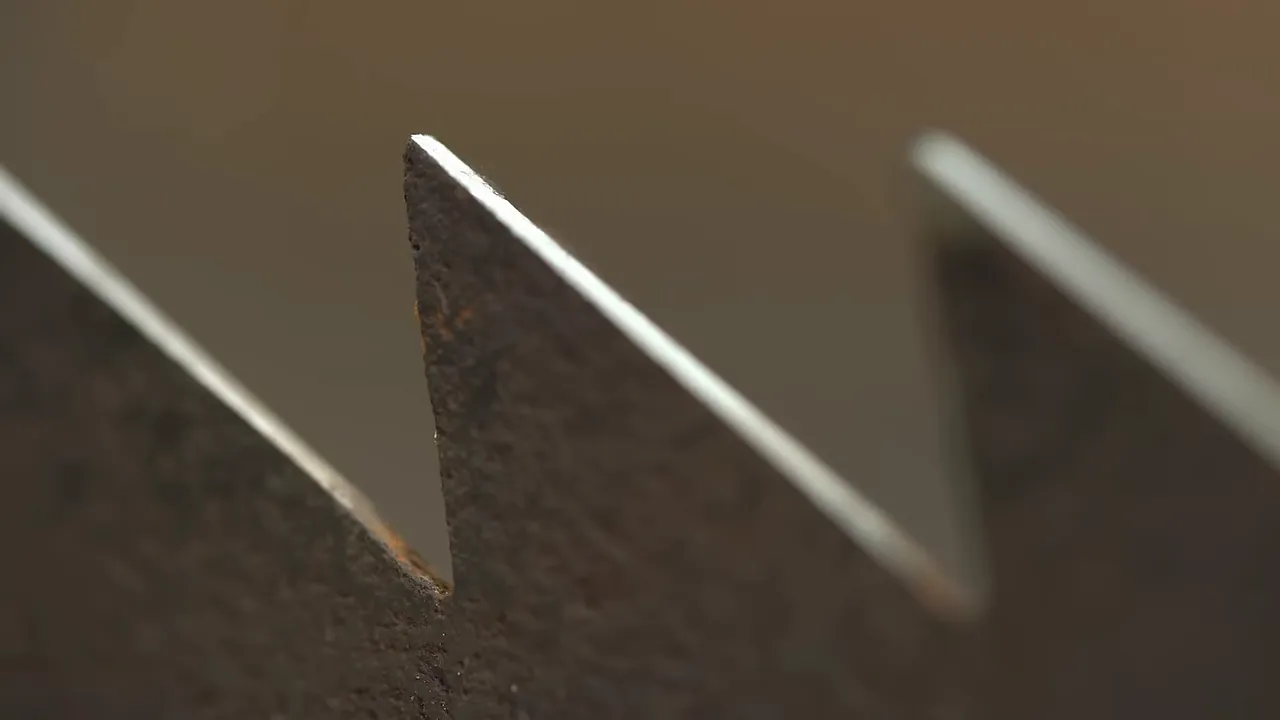
Initially, this felt pretty unpleasant. Once I found a rhythm, though, it became surprisingly peaceful. There is something cathartic about a repetitive task where you can actually see progress.
That does not make this a masterclass in Japanese saw sharpening. It makes it a first attempt that produced much cleaner teeth than I started with.
Polishing the Maple Handle, Then Admitting Defeat
With the handle shaped, I secured my orbital sander upside down in a vise and fitted an extra-soft interface pad. Holding the small handle against the supported sander gave me more freedom to move around its curves.
I sanded from 100 through 800 grit, then moved to a buffing machine to polish the stabilized wood.
This was another new process for me, and I learned two things the inconvenient way:
- Green compound stained this light wood. It embedded in the surface, so I had to sand it back and start over with white compound after getting advice.
- The inexpensive buffing wheels were not a good purchase. They shed material everywhere. I would not recommend those particular wheels.
The white compound gave the handle an adequate semigloss finish. The spalting looked great, and the surface polished up nicely.
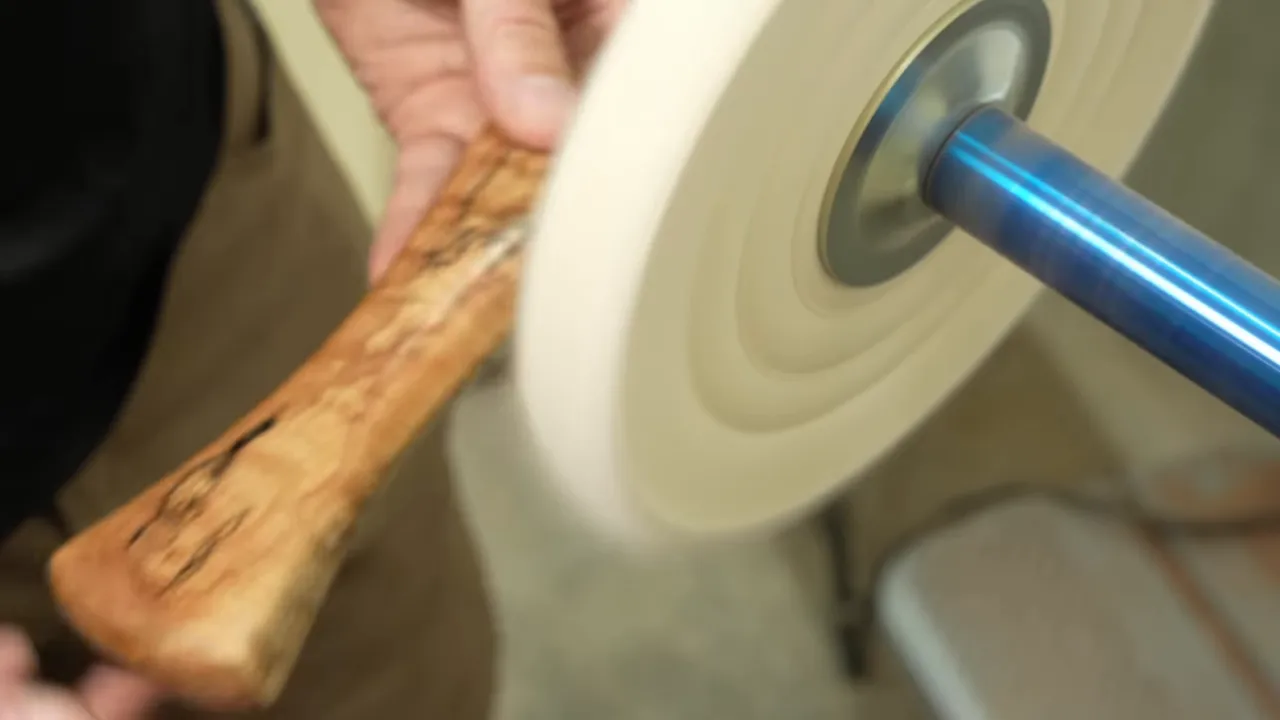
Unfortunately, a beautiful finish did not make it a beautiful handle.
Once I held it against the blade, I had to admit I disliked pretty much the whole design. It felt comfortable, but I did not like its shape, its appearance, or the way it related to the saw. After all that work, I thought the worn-out original looked better.
Time invested is not a good reason to keep a bad design. I wanted a modern interpretation of an old tool. What I had made was simply something I did not want to look at.
Cold Bluing the Blade
For the steel, I wanted a deep bluish-black appearance that suited the hand-forged texture. I had previously used cold bluing on an old Japanese chisel and liked the result, so I chose the same general treatment here.
The attraction was partly appearance and partly rust resistance. It was not an excuse to stop protecting the steel with oil.
My cold bluing process followed this general sequence, with the product directions taking priority:
- Clean the steel thoroughly.
- Wipe on the bluing solution.
- Rinse with cold water.
- Use steel wool to buff away surface residue.
- Apply a protective oil treatment.
I used a three-in-one-type oil and allowed about 24 hours for that final treatment, based on the directions I was following. The darkened surface gave the blade the look I had been after without hiding its texture.
Later, painter's tape appeared to pull off part of the blued finish. That was discouraging, because I did not expect tape to remove the treatment itself.
It turned out the tape had removed some of the surface oil, not the bluing. Wiping the remaining oil off with acetone made the appearance uniform again. The finish problem was much smaller than it first appeared.
Making a Simpler White Oak Handle
For the second handle, I went more traditional. Conveniently, I already had some white oak available: the boards from my homemade sharpening vise.
I liked the white oak handles on my Japanese chisels, so this was less of a design gamble. Less razzle-dazzle, more chance of making something that actually belonged on the tool.
I glued up the oak stock, laid out a slight taper, cut it on the bandsaw, and refined it with sanding and router work. The final shape was a simple rounded grip with a slot for the tang.
I initially finished the oak, then installed the blade with epoxy. Tape around the joint helped contain the squeeze-out, although it also left a little discoloration on the wood. That did not matter much because I planned to sand and refinish the handle after installing the pin.
A small dragon and a permanent connection
The decorative pin was not traditional, but I still wanted one small modern detail. I found a dragon-pattern knife pin on Etsy for about $7. I would love to say it was a rare, custom-made component from Japan. It was a $7 pin from Etsy.
I used a drill bit around 3/8 inch that matched the pin, testing the fit in scrap first. A couple of hundredths of an inch makes a meaningful difference when you are trying to fit a pin through wood and steel.
The epoxy inside the handle probably would have been sufficient on its own. Running a pin through both the wood and tang added a mechanical connection as well.
After installing it with epoxy, I filed and sanded it flush, cleaned up the surrounding wood, and refinished the handle with a water-based urethane.
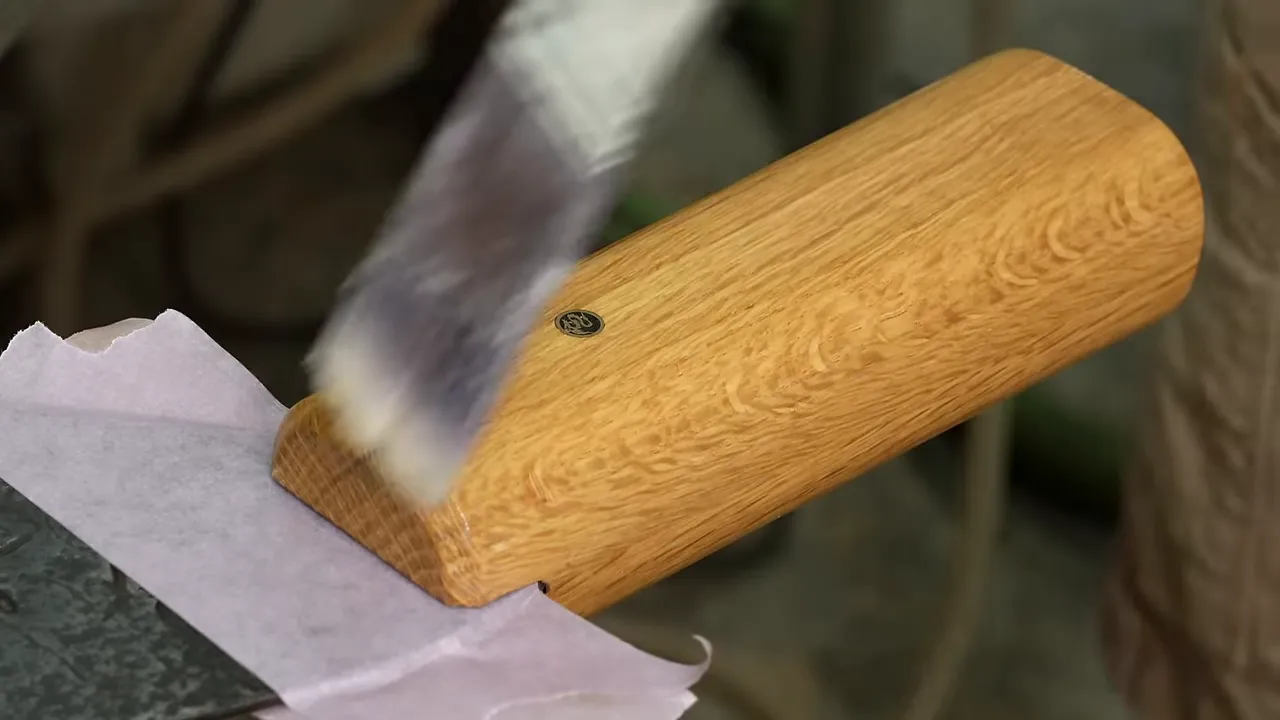
This time, I liked it. Not because it had more detail or took more effort, but because it worked with the rest of the tool.
Setting the Teeth So the Blade Would Not Bind
There was one more important job before cutting wood: setting the teeth.
Sharp teeth cut. Tooth set gives the blade room to move through the cut. If every tooth sits perfectly in line, the saw cuts a kerf only about as wide as the blade itself. That leaves very little clearance and encourages binding.
Setting offsets alternating teeth slightly to opposite sides, making the kerf wider than the blade.
Wood By Wright's sharpening lesson explained this clearly and noted that setting is not necessarily needed at every sharpening. In my case, it was part of bringing the saw back into service.
The saw-setting tool I had bought was not large enough for these teeth, so I worked through them manually with a punch and hammer. This was another reminder that an enormous old saw does not necessarily cooperate with tools intended for ordinary-sized ones.
Would the Restored Japanese Saw Actually Cut?
With the handle finished and the teeth sharpened and set, I took the saw outside and started ripping a substantial piece of wood supported on a stump.
It cut. There was actual progress, which felt pretty good after all those hours of filing.
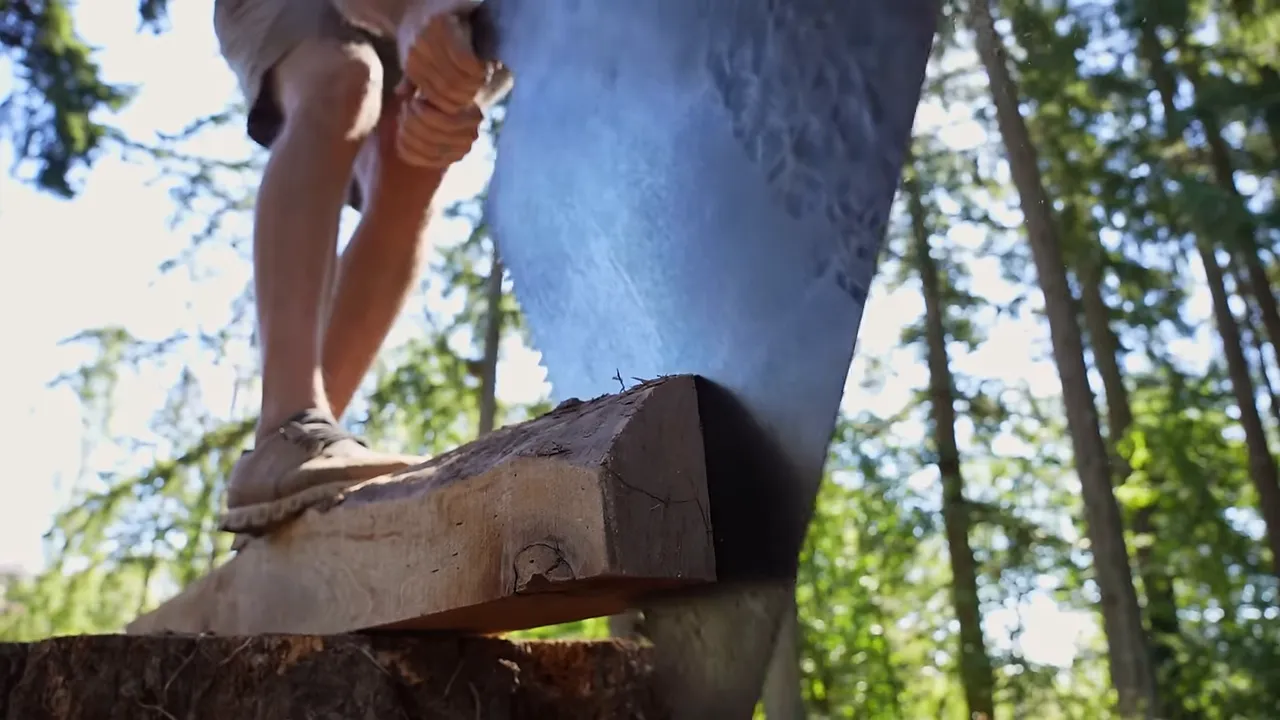
About six inches into the job, I was reminded how much I appreciate technology.
I changed from tennis shoes into my carbon-toe work boots, put down the Japanese hand saw, and finished the job with a German chainsaw. The boots were my Ariat summer work boots, with a leather outer and carbon toe. My enthusiasm for modern equipment apparently extends beyond the tools themselves.
The whaleback saw then went on the shop wall, which may be the most honest ending this project could have had.
I still consider the restoration worthwhile. I learned how stabilizing resin behaves, spent a surprising amount of time sharpening teeth, got to use laser rust removal, and made a handle I hated before making one I liked.
The old saw can cut again. I just do not need to pretend it has replaced my power tools.
Passing Some Tools Along
Alongside this restoration, I announced another tool giveaway. Oliver Machinery was sending me a 12-inch helical jointer, and my existing 8-inch helical jointer was still perfectly decent.
My policy when a company supplies a replacement tool is to give away the old one rather than sell it. For the jointer, the plan was a local rock-paper-scissors tournament, similar to the one I had previously held for a planer. Shipping a roughly 1,000-pound machine across the country was not part of my generosity budget.
To include people outside the Portland area, I also bought handmade Japanese hand saws for a separate free-entry giveaway with three winners. Those were the plans announced with this project, so the giveaway page is the place to check details and availability rather than assuming an old announcement is still open.
|


