Almost three years after my first burnt wood and epoxy table, I wanted another shot at the idea. That first table became my most popular project, but it was fairly small, and the best part of it happened entirely by accident. I surfaced away too much material, exposed a corner of natural wood, and immediately liked that corner more than everything I had planned.
This time, the goal was to make that contrast intentional: a large redwood desk with natural wood on three sides and a charred, textured center buried beneath clear epoxy.
Simple enough in my head. Unfortunately, my head was not responsible for containing the epoxy or spraying the finish.
A Broken Redwood Slab and a Questionable Idea
The project started at Goby Walnut, where I had gone to ask about drying a woolly mammoth tusk in their kiln. As one does. They had recently broken a large slab down the middle and asked whether I wanted part of it.
Being a wood expert, I confidently identified it as walnut. It was redwood. We were off to a strong start.
My half measured roughly 9 feet long, including its pointed end, and about 26 to 30 inches wide, depending on where you measured. Redwood is wonderfully light for its size, and it takes texture beautifully. It is also incredibly soft, which becomes a problem when you put it beside hard epoxy and try to sand both perfectly flat.
I seem to forget the difficult parts of working with redwood just long enough to agree to another project. Combining it with burnt wood gave me an opportunity to remember all of them at once.
Carving a Center That Would Disappear Beneath Epoxy
The design depended on removing material from the center while leaving the surrounding redwood high. After burning, sealing, and pouring, I could surface the entire slab back down to one plane. That would expose fresh redwood around a recessed, charred center.
For the carving, I used Kutzall discs in different grades, starting with an aggressive Extreme disc to remove material quickly. These discs use tungsten carbide cutting points bonded to steel. Mine have held up extremely well, and I prefer them to the blade-style carving attachments I have largely stopped using, especially chainsaw-style discs.
They do, however, create an impressive amount of mess. This was an outside job.
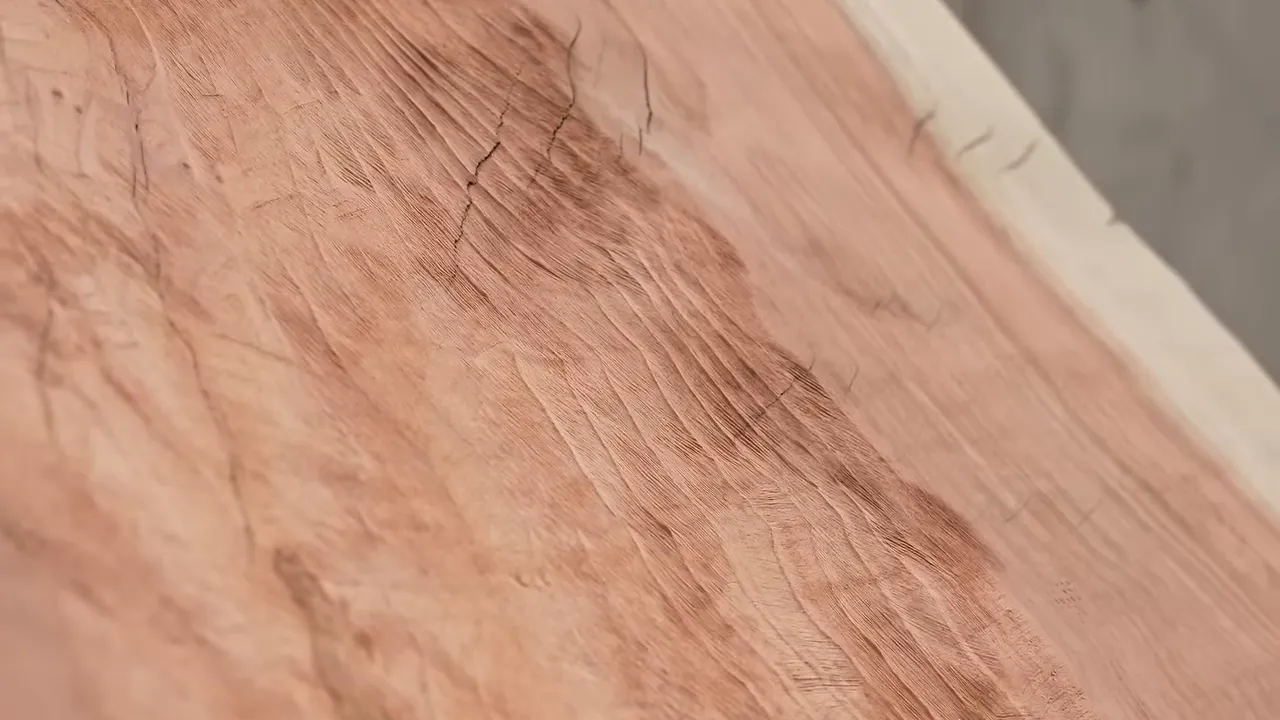
Once the basic shape was established, I switched to a wire wheel. The carving disc created the shape; the wire wheel made that shape look like wood again. Redwood textures easily, so the wheel exposed its grain and softened the obvious carving marks. After burning, I wanted natural grain, not a permanent record of every pass with the grinder.
Specialty tools are part of the fun of woodworking for me. That interest also led me to source a hand-forged, solid Damascus marking knife. It made a small appearance in this build, although it was not going to save me from any of the problems coming next.
Burning the Wood Without Twisting the Slab
My first fire table warped and twisted so badly that it was barely usable. For this one, I slowed down and worked in smaller areas rather than rushing the burn across the whole surface.
The difference was encouraging. This slab stayed surprisingly flat. At that point, I briefly believed I had figured out how to make the project easier.
I did the burning outdoors with a hose, a fire extinguisher, and a phone nearby. This is actual fire, not a decorative woodworking effect that somehow stops being dangerous because you have a nice slab. Burning wood around a shop is a very effective way to lose the shop.
Sealing Charred Wood: The Most Important Part of the Pour
Before concentrating on the top, I sealed the underside with Seal-A-Cell. It was a straightforward way to seal the soft redwood where I did not need an elaborate finish.
The rotten areas required something different: penetrating epoxy. Some sections were so soft that I could compress them with a finger. I also liked a natural void on the top and wanted to preserve it, which meant getting resin into a particularly porous area rather than simply removing it.
The wood drank up the epoxy. At first, that was exactly what I wanted.
About 18 hours later, the change was substantial. Previously squishy areas felt firm, and the char no longer left black residue on my hand. But making the surface firm and sealing it well enough for a clear pour are not quite the same thing. I applied another round to fill the char as thoroughly as I could.
Air coming out of the wood is the enemy of a clear burnt wood epoxy table. A torch can help with bubbles at the surface of a pour. It cannot reach bubbles trapped down at the wood beneath the resin. More torching does not compensate for poor sealing.
My First Mistake: Leaving Penetrating Epoxy in Pools
The penetrating epoxy I used reacted faster than I expected. That was my mistake, not a product failure. I also left shiny pools on the surface, and those pools cured with tiny bubbles in them.
The practical lesson was simple: where this application left excess epoxy sitting shiny on the surface, I should have wiped it away instead of letting it collect.
Once the bubbles were hard, I tried brushing them off mechanically. That created a new concern. I could remove the bubbles, but would I leave visible scuffs all over the char?
I was reasonably hopeful that the next epoxy application would hide the fine marks. I had seen epoxy conceal scratches around 180 grit, and these looked finer than that. Still, this was a repair attempt, not a technique I knew would work perfectly.
A Metallic Black Trick for Making the Char Visible
The first burnt wood table had another weakness: unless the light was bright, it was difficult to see the wood beneath the epoxy. The texture was there, but the black surface did not give much back.
For this desk, I tried something I had previously tested only on small sample boards. I mixed metallic black pigment into epoxy and brushed it over the textured char.
The aim was not to turn the center silver or make it look obviously glittery. It would remain black, but the metallic pigment would catch the light and help reveal the grain in dimmer conditions.
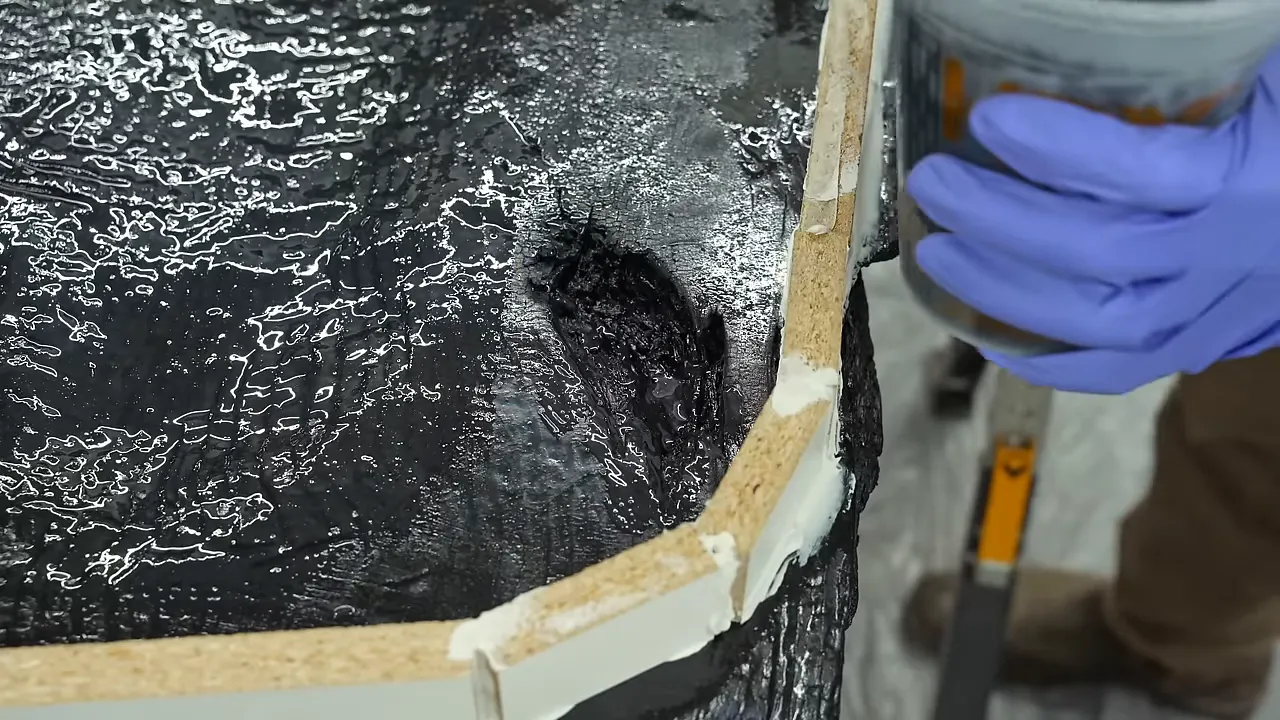
I built a narrow, vaguely tombstone-shaped form around the recessed center. It was not my finest display of joinery, but it put the epoxy where I wanted it instead of enclosing the entire slab.
For the main pour, I used slow-curing deep-pour epoxy, even though the actual depth was not especially large. The slower cure was important to my effort to avoid bubbles. I also brushed the resin against the wood to establish good contact and work out small pockets of air.
If you want to experiment with this look, a coaster or sample board is a much more manageable starting point than a 9-foot slab. The idea is not proprietary to me. I first became interested after seeing someone make a small version on Reddit. Scaling it up was my contribution to the difficulty.
The Form Held. The Rotten Wood Did Not.
Then the epoxy started leaking.
Normally, a leak gives me a specific place to patch. This time, resin was finding its way through porous, rotten wood. I put a bucket underneath one drip, and another appeared somewhere else. Then another.
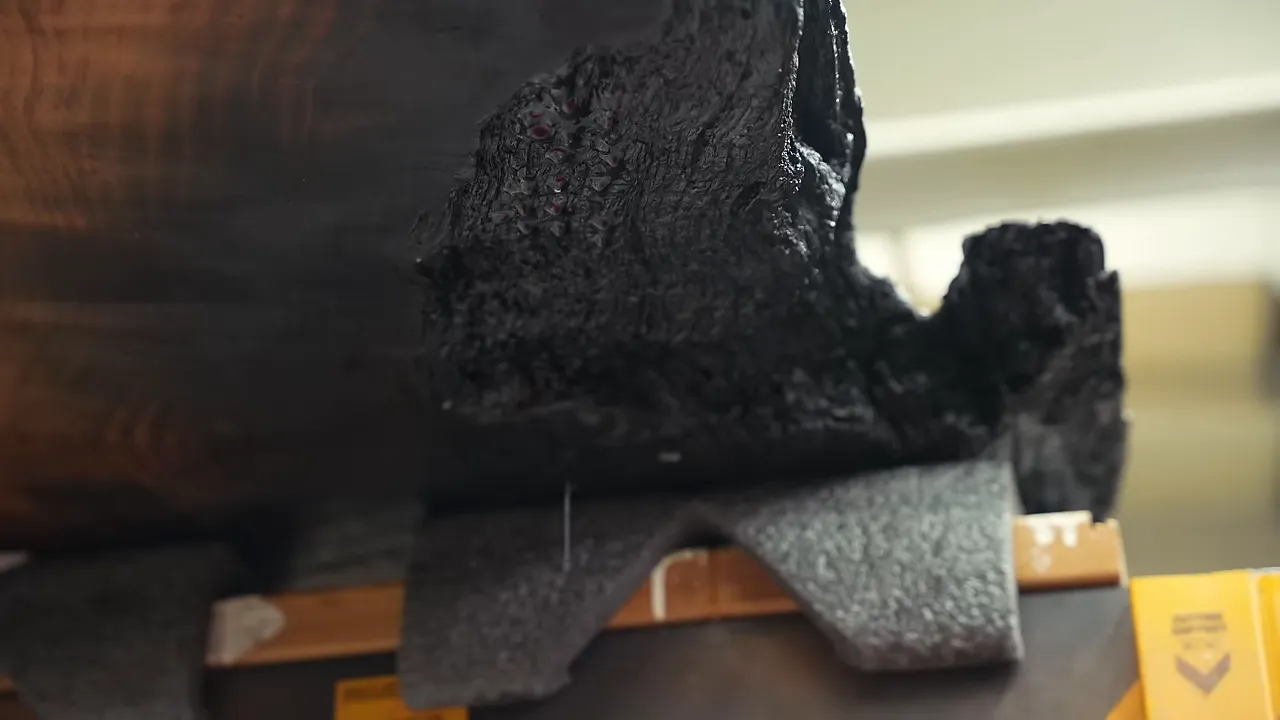
What followed was a collection of buckets, patching attempts, and increasingly desperate efforts to stop the resin escaping. I had worked hard to consolidate the rotten wood, but I had not sealed every path through it.
That distinction matters: a firm surface does not prove that porous wood is leakproof. This slab had already demonstrated that the penetrating epoxy could harden the char. It was now demonstrating, rather expensively, what I had missed.
People understandably ask how I can build so many epoxy tables and still get leaks. The answer is that I keep making things more complicated. Another straightforward black epoxy and walnut table would be more predictable. A partially burnt, carved, rotten redwood desk gives me more opportunities to learn things I would have preferred not to learn.
Somewhere in the middle of the leak, I also remembered that I teach an epoxy table workshop. Truly excellent timing for a sales pitch. The useful part of these failures is being able to explain what went wrong rather than pretend the process is always tidy.
|
Surfacing Finally Revealed the Design
I left the slab on my rack for about two or three weeks to let the epoxy cure before removing the form. Unfortunately, the form liked the table more than I intended. Some caulk had bonded to the char and pulled out chunks of wood during removal.
I hoped those damaged areas would disappear during surfacing at Creative Woodworking. More importantly, surfacing would finally answer whether the entire idea worked.
Until this point, the finished desk existed mostly in my head. Lowering the surface needed to reveal natural redwood around the black center without destroying the contrast I had carved into it.
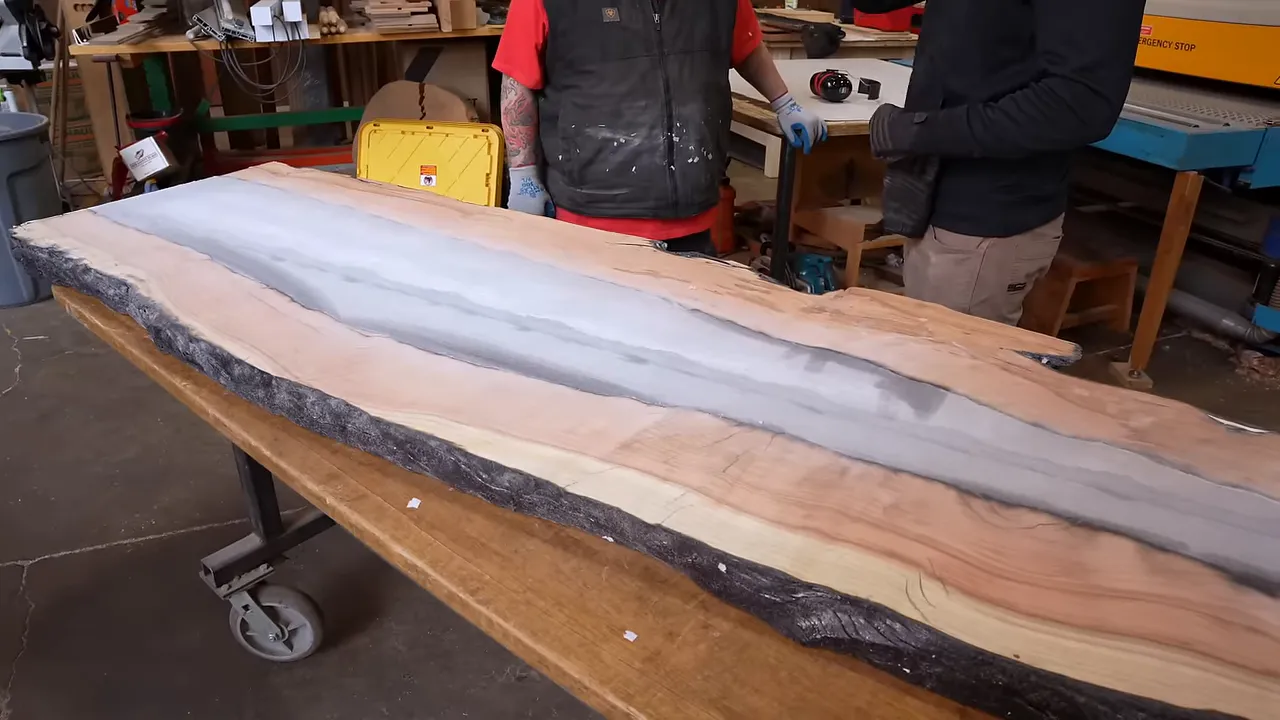
It worked. The exposed wood framed the dark center, and the project suddenly looked intentional rather than like something I had accidentally set on fire.
Back at the shop, I cut the desk to just under 96 inches, about 2.4 meters. That made shipping more affordable, and an almost 8-foot desk is still a very large desk. I also cut a 10-degree bevel on the back edge, which felt a little more interesting than a standard square edge.
Filling Tiny Pits and Flattening Two Very Different Materials
Surfacing was a major milestone, not the end of the preparation.
There were tiny pits that were difficult to fill with epoxy or CA glue. For those, I used wax fill sticks, then scraped the excess flush. They are excellent for these stubborn little defects, provided the project is getting an appropriate film finish over them, such as polyurethane, varnish, lacquer, or an epoxy topcoat. I was not leaving the wax as the final exposed surface.
The transition between the char and fresh redwood also had an unexpected seam. I worked epoxy along that line, and I coated the soft redwood with epoxy to firm it up before the topcoat.
Why I Kept Switching Between Sanders
The epoxy was hard. The redwood was soft. A power sander could remove the redwood faster and round over the transition, producing a wavy surface that would become painfully obvious under gloss.
At the same time, I still had aggressive scratches from the wide-belt surfacing process to remove. I could not simply stop sanding.
I worked back and forth between:
- A block sander to help maintain a flat plane across the materials.
- An orbital sander to remove scratches and refine the surface.
- A carbide scraper to shave down localized high spots.
A carbide scraper is a useful, relatively affordable addition to the toolbox for this kind of work. It let me address high spots without broadly sanding everything around them.
“Perfectly flat” also needs some perspective. I was trying to make this slab as good as I could, not claiming it would have the optical perfection of a carefully finished car panel. A large natural slab has limitations, and a reflective finish makes every bit of distortion easier to see.
Scott, who works with me, also pointed out sanding lines I needed to fix. Having someone willing to tell you the work needs another pass is useful. Less enjoyable than praise, but considerably more useful.
Getting the Legs in the Right Place
The slab tapered enough that the leg arrangement was not obvious. My first placement created an awkward overhang and made the underside resemble an animal in a way I could not unsee once Scott mentioned it.
We moved the supports farther toward the ends. With the desk upright, it looked much less unbalanced. We also discussed whether black powder coating would suit the black center better than the polished metal.
The legs came from a maker in New Zealand. I paid for them, and at the time he had roughly ten sets left from a small batch he had made years earlier. The unusual design suited a desk that was already well outside ordinary.
For attachment, I made a simple drilling guide to help keep the threaded inserts square. Apparently, having inserts lean a degree or two is something people notice. Fair enough.
I normally avoid permanently gluing inserts because I want to be able to remove them if a table needs resurfacing later. This redwood was soft enough that I made an exception and used CA glue to reinforce the installation.
My DIY Spray Booth Was Not the Solution
Next came the water-based gloss polyurethane finish, and a new opportunity to get outside my comfort zone.
I cleaned the shop, hung drop cloths, and installed a powerful air filter to create a makeshift spray area. I had a Graco HVLP setup, a roughly $14 paint suit, a powered respirator helmet, and a tack cloth. I looked like someone who knew what he was doing.
The finish disagreed.
My first coat contained an astonishing amount of dust, hair, and debris. Chris from Foureyes had warned me not to get discouraged by the first coat, but this was difficult advice to follow. I had no hair on my head and somehow plenty in the finish.
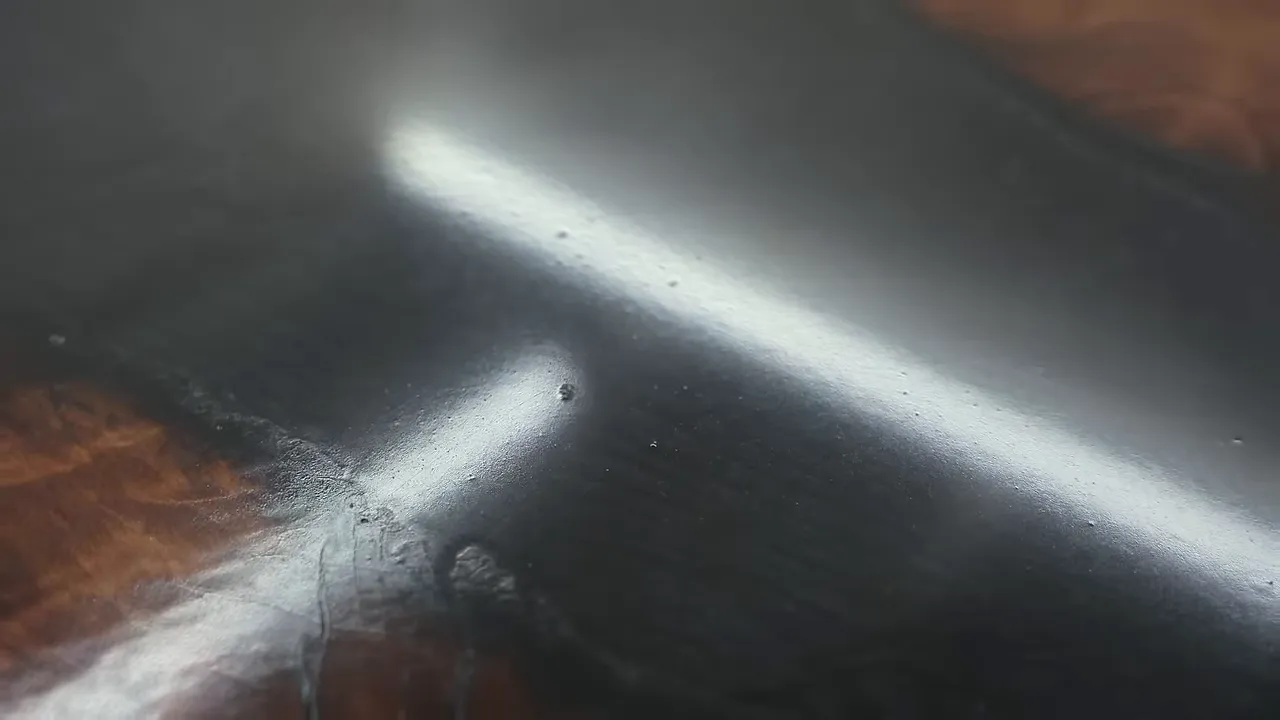
I suspected the curtains were contributing to the contamination. A previous table sprayed in the open shop had not collected this much debris.
This improvised enclosure is not something I recommend copying. A circulating air filter and hanging cloths do not, by themselves, establish a proper spray-finishing setup. For actual requirements, OSHA’s spray operations guidance is a more useful starting point than my experiment.
I removed the defects, sprayed again, and sanded again. Then repeated that process for another two or three days while Scott worked from home. Eventually, I had a usable film, although it still had some orange peel and distortion.
Dry Sanding and Polishing the Water-Based Finish
At that point, the goal changed from getting a flawless sprayed surface to leveling and polishing the surface I had.
I started dry sanding at 800 grit, working toward an even, frosted appearance with the orange peel removed. Then I progressed to 2000 grit.
I deliberately avoided wet sanding. I had been advised that this water-based finish needed substantially more cure time, potentially around a month, before wet sanding. I did not have that much time, so I stayed dry. That was advice for the finish and timing I was working with, not a universal cure schedule for every water-based product.
At 2000 grit, the top had a fairly even satin appearance. It was finally ready to polish.
I masked the live edges with painter’s tape to keep compound out of the texture, then used the three-stage 3M Perfect-It system. I am not an automotive finishing expert, but I had used this system for several years with results I liked.
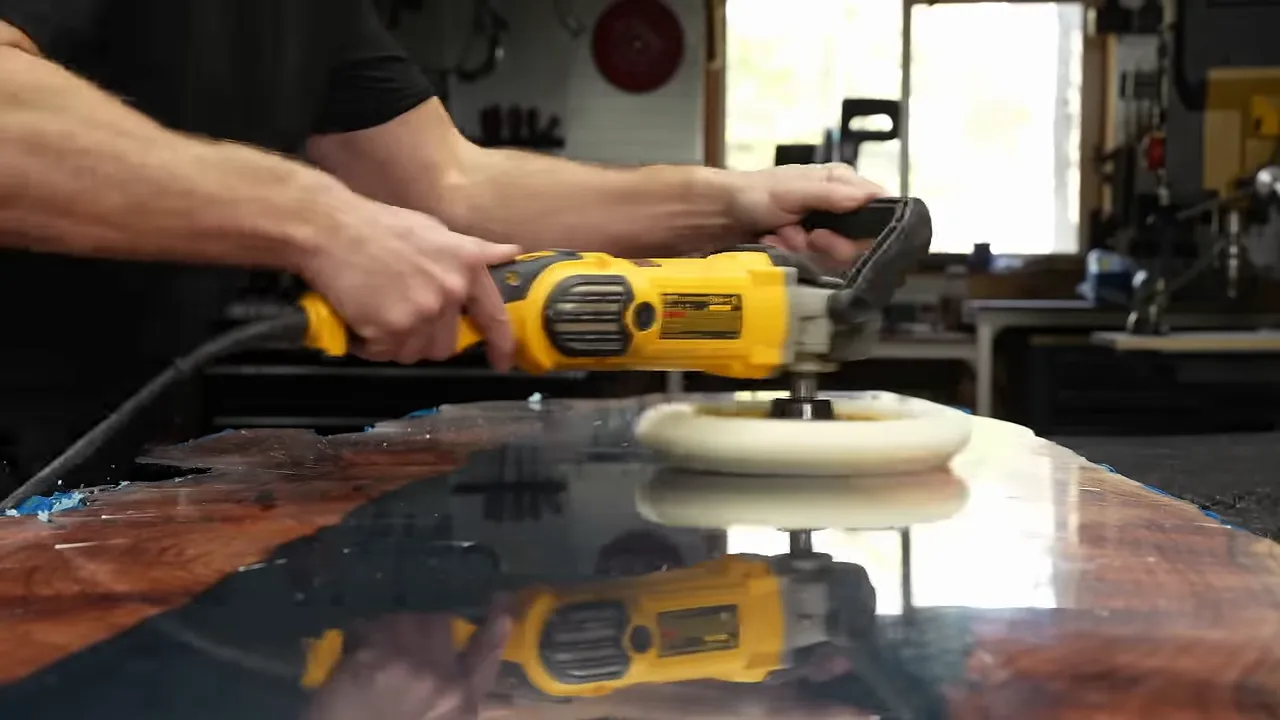
The first stage quickly brought the sanded surface toward high gloss. I had been told the first two stages were sufficient for this type of project, but I used all three to see how far I could take it.
I did not want a glossy live edge competing with the top. For that, I brushed on a thin coat of flat water-based polyurethane. The lower sheen kept the rough texture visually separate from the polished surface.
The Soapy-Water Disaster That Somehow Reversed Itself
The desk was almost finished. I washed the polished top with soap and water to remove the remaining buffing residue.
The surface immediately developed an orange-peel texture.
After all the spraying, sanding, and polishing, I thought I had just earned the right to do it all again. I can usually laugh at a project going sideways. This one stung.
Then something strange happened. About 30 minutes later, it looked slightly better. After another hour, it looked much better. By the following morning, the texture had relaxed back to essentially its previous appearance.
I do not have a confident explanation for that recovery, and I am not going to invent one. What I do know is that the finish looked ruined after cleaning and then recovered without another round of sanding.
Dry enough to sand and polish had not meant ready for that water exposure. After that scare, I waited another week before applying the final protective treatment.
Final Protection and a Desk Worth the Trouble
I finished with N3 Nano. My purpose on this already glossy surface was additional protection and a repairable protective layer, not more shine. I had tested it against the other nano finishes I could find before offering it for sale, and it was the product I chose for this desk.
The final result combined warm redwood, a black textured center visible beneath clear epoxy, a reflective top, and a flatter live edge. The metallic black treatment helped the char reveal itself instead of disappearing into a dark patch.
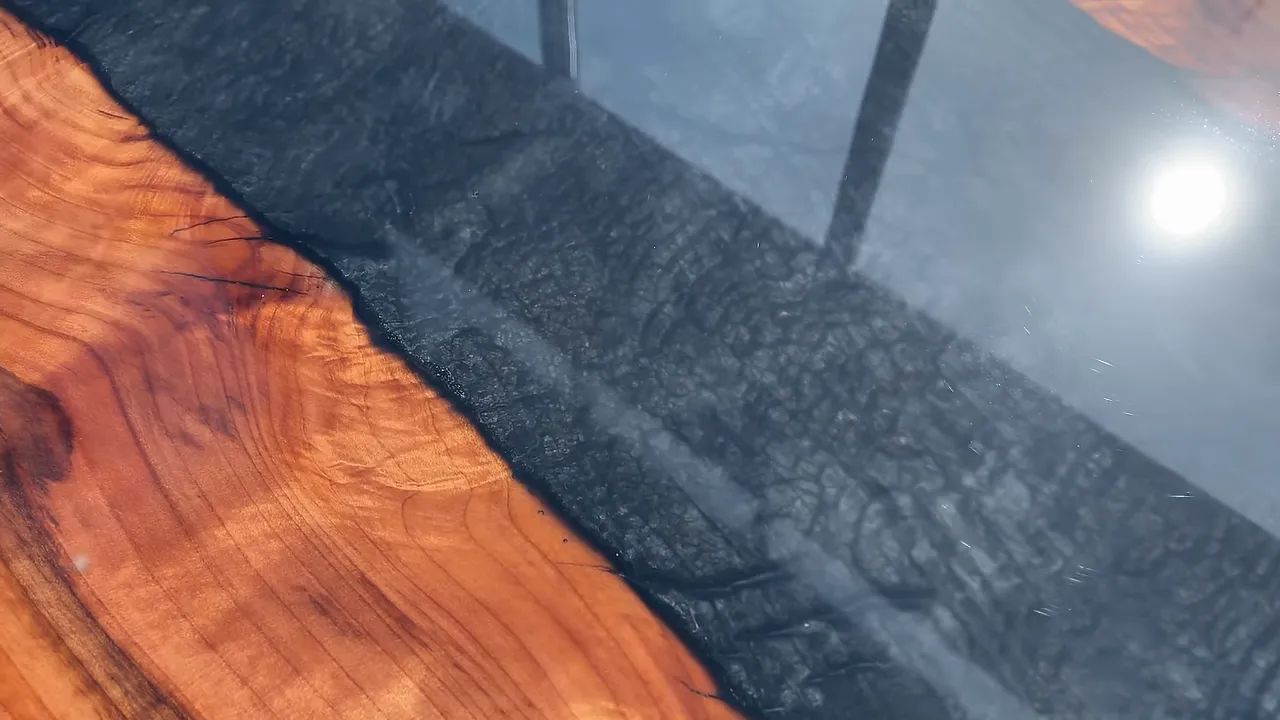
I planned to sell the desk through an auction starting at $1, with free shipping in the continental United States and shipping charged separately elsewhere. After everything involved in making it, that was probably not my most conservative business decision. But I enjoy those auctions, and this desk was never much of a conservative project.
The design accomplished what I wanted from the beginning: the exposed redwood was no longer a lucky corner. It framed the char intentionally, at a scale large enough to make a statement.
If I make another variation, the priorities are clear: seal the rotten wood more thoroughly, do not let penetrating epoxy pool, respect the difference between hard resin and soft redwood, and give the finish more time than my patience thinks it needs.
The free wood was a great deal. Everything after that required a little more negotiation.


