This is the story of a $10,000 coffee table I did not particularly want to build. It involved a pile of customer-supplied skis, a solid brick of nearly clear epoxy, and an attachment method that looked terrible and, as it turned out, barely attached anything.
But the story actually starts with a completely different table: a single slab of black walnut, 16 feet long and 5 feet wide.
That was a project I wanted to build. Getting from that commission to this ski table took more than three years, a change of plans, and a decision about how I wanted to treat a very good customer.
A $32,000 Dining Table and a Very Fast Deposit
When the customer first contacted me, he was planning a new cabin in Colorado and wanted a really big dining table. Naturally, I started thinking 9 feet, 10 feet, maybe 12 feet.
He wanted 16 feet. And he wanted the top made from one slab of black walnut.
Slabs that size are not exactly sitting in the bargain bin. I had seen them priced around $20,000 to $22,000, although I hoped I could find the right one for closer to $14,000 or $15,000. After doing some preliminary research, I quoted him $32,000 for the table and base, excluding shipping, with an estimated lead time of 12 to 16 months.
Usually, a conversation like that stretches across days, weeks, or months. This one moved a little faster.
He asked what I needed to get started. I told him a 50 percent deposit, or $16,000. He asked for the invoice, and within seconds of my sending it, the payment notification arrived. We had first spoken maybe 15 minutes earlier.
His one instruction was not to buy the slab yet. The house was still being planned, and he would let me know when it was time.
The additional table became the only table
About a month later, he asked about adding a coffee table to the order. His idea was to send me some skis, have me cast them in clear epoxy, and turn the whole thing into a roughly 5-foot-long table.
I really do not enjoy making this type of table. A clear epoxy casting can be significantly more difficult than a much larger walnut and black epoxy dining table. But I also do not think customers hire me because they want to hear how hard their project is.
I quoted $10,000. That is a lot of money, but it was less than I would normally charge for this kind of build. I wanted a long-term relationship with the customer, including the big dining table and potentially other furniture.
Over the next three and a half years, we checked in roughly every six months. My understanding was that the house kept running into permitting or other government-related delays. He never hassled me, never demanded his deposit back, and was consistently easy to work with.
Eventually, he indicated that he would just take the ski table.
That left me with a project I probably would not have accepted on its own, at a price I had quoted years earlier. Costs had increased since our original conversation around 2020, but raising the price now would have felt like a bait and switch. He had treated me well. I wanted to return the favor.
I honored the original $10,000 quote.
Building the Mold and Making the Skis Float
The customer supplied a photograph showing exactly how he wanted the ski pieces arranged. That made the design process straightforward: reproduce his layout rather than invent my own.
I built the mold from melamine, cleaned wax and oils off the skis with alcohol, and arranged everything to match his photo. Then I traced each piece in pencil so I could remove the skis and return them to the same positions.
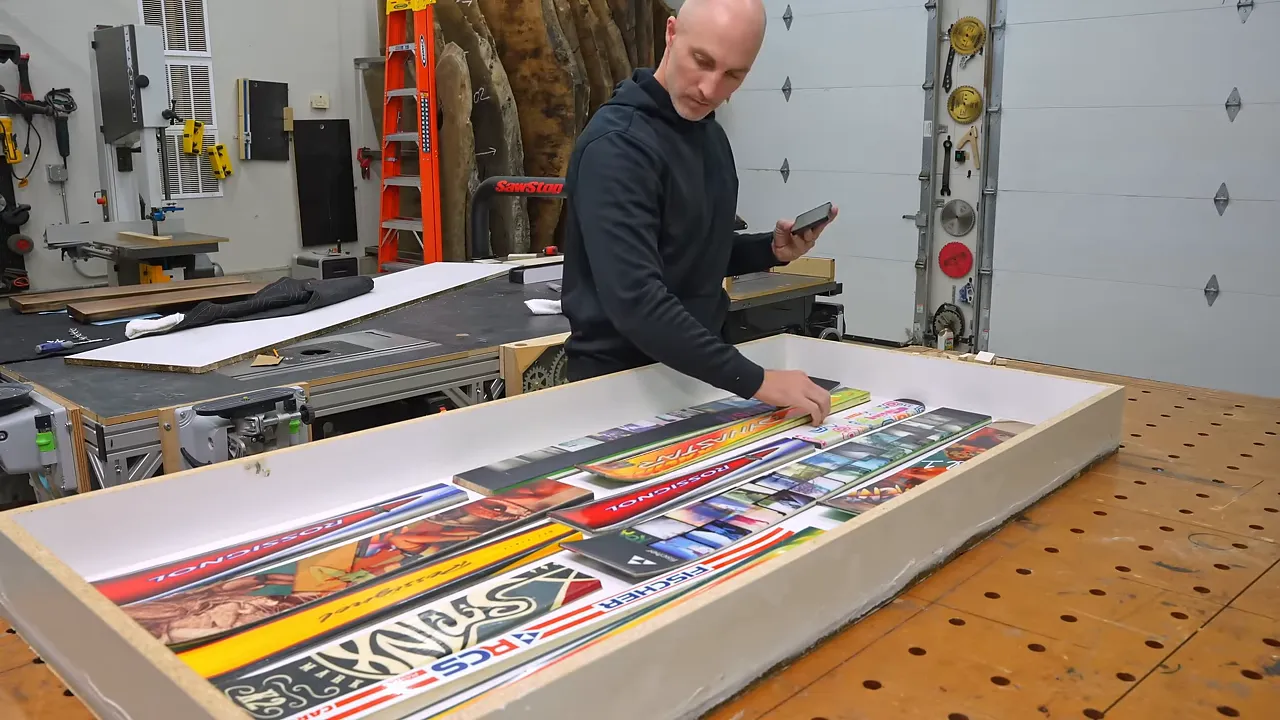
I did not want the skis sitting directly against the bottom of the casting. Visually, that would have been a little awkward. It also would have left almost no margin when flattening the underside.
Instead, I used little half-inch plywood blocks as standoffs. Those raised the skis off the mold floor, making them appear suspended in the finished table. They also provided some sacrificial material beneath the skis during flattening.
The basic preparation sequence was:
- Build and seal the melamine mold, then prepare it for release.
- Clean the ski pieces and reproduce the customer’s layout.
- Trace the positions before removing any pieces.
- Glue the plywood standoffs in place and secure the skis above them.
- Clean the shop thoroughly before mixing and pouring.
That last step matters more with clear epoxy than it does with almost anything else I make.
Why Nearly Clear Epoxy Is Less Forgiving Than Black
I use black epoxy in most of my tables. I would love to say that is entirely an artistic decision about timeless design. I do like the way it looks, but it is also very forgiving.
A tiny speck of dust in black epoxy usually disappears. In a clear casting, that same speck can become something you get to admire forever.
For this table, the customer approved a very slight blue tint. Part of that was aesthetic, but there was another reason: epoxy can develop an amber cast as it ages.
In samples I have kept over the years, a subtle blue tint has helped visually offset that yellowing. It does not stop the epoxy from aging, but it can help balance the appearance as the color changes.
I used a small amount of blue dye, which introduced another challenge: matching a very faint tint across several buckets of resin.
I tried counting drops consistently, but one extra drop in one bucket and one fewer in another is enough to create variation. To even things out, I transferred mixed resin between the buckets and mixed again rather than trusting that each individual batch would match perfectly.
Managing heat during a large epoxy pour
Epoxy generates heat as it cures. A casting this large generates a lot of it.
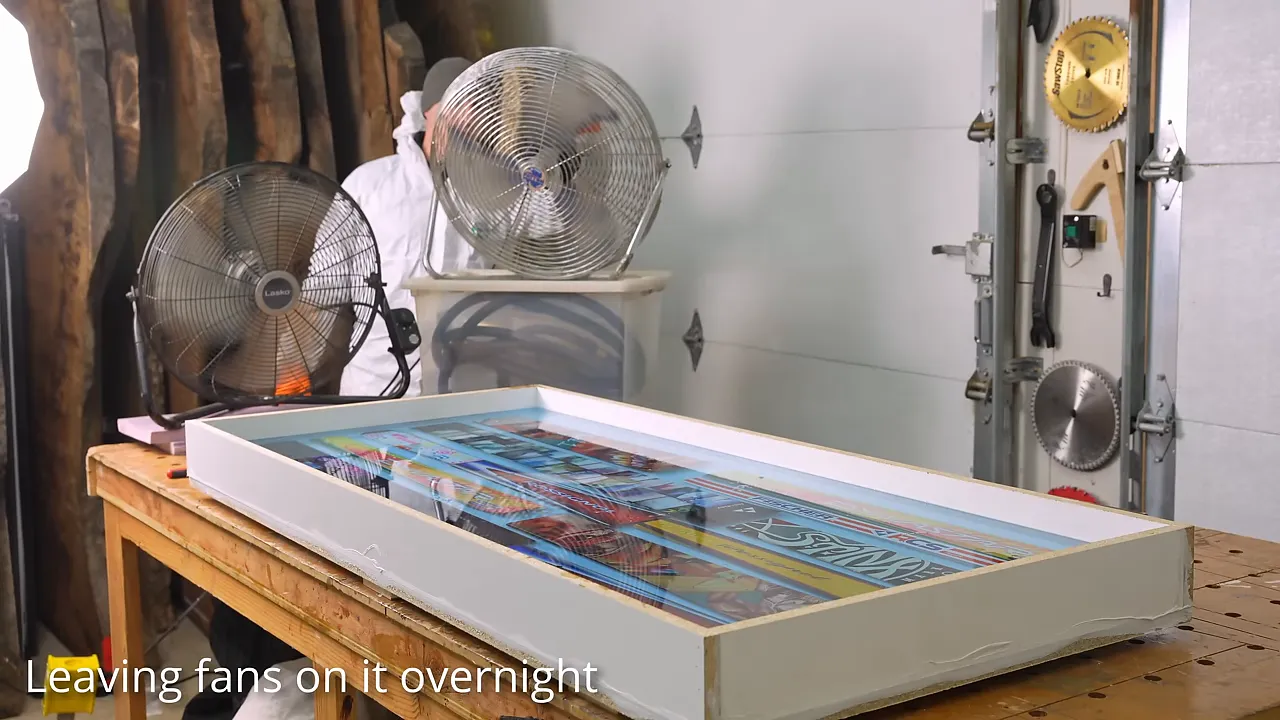
I positioned fans around the mold and left them running overnight to help manage the heat. Without that cooling, I expected this particular pour would overheat and crack.
Fans were part of the cooling plan, not a substitute for using an appropriate casting resin. Pour depth, batch size, temperature, and cure requirements still need to follow the product manufacturer’s instructions.
This is the kind of decision I cover in my virtual epoxy table workshop, along with mold building, pouring, and choosing between a crystal-clear finish and a more natural-looking wood finish. The workshop contains more than three hours of instruction, and I answer participant questions. It cannot guarantee success, but it can save a lot of expensive trial and error.
|
Flattening the Casting and Matching the Metal Base
After about three weeks, I removed the casting from the mold. Before taking it for machine flattening, I lightly sanded away the mold-release residue, which can make feeding the piece through the machine more difficult.
Back in my shop, I used a track saw to get the top close to its final dimensions. Close was not the same as finished, though.
The welded steel base was very accurate, but there is always some variation. A saw cut can be slightly off, and welding can introduce a little movement in the metal. Rather than trying to make two independent shapes match perfectly, I used the base itself as the template.
With the top positioned on the frame, a flush-trim router bit brought the epoxy edge into line with the steel beneath it. The bearing followed the base, and the cutter shaped the top to match.
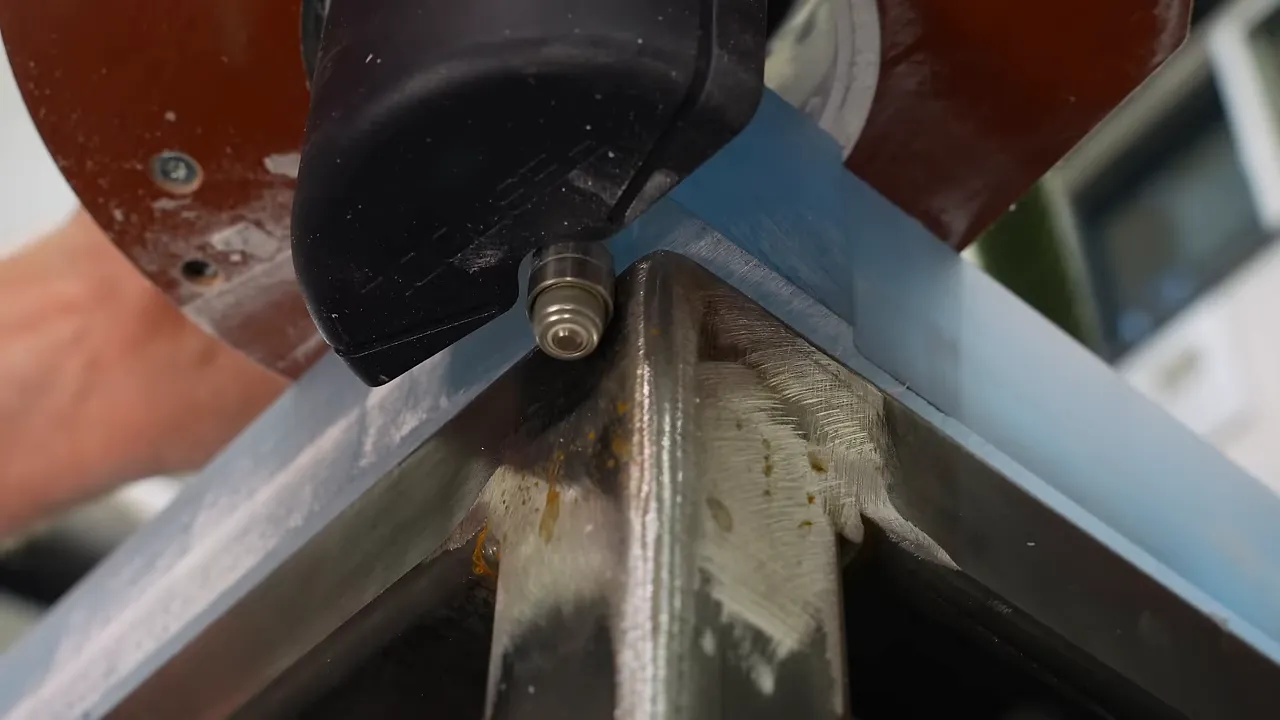
I then sanded the edges against the frame and added a small, approximately 1/8-inch roundover to soften the top edges.
The Bubble Problem I Should Have Prevented
The main pour went well. There were not many bubbles in the body of the epoxy. Unfortunately, I made a mistake with the skis.
I should have sealed their cut ends with a faster-curing epoxy before casting them.
I had considered doing that, but the exposed material looked dense and fiberglass-like. I convinced myself it would be fine. There was actually air trapped inside the skis, and some of it escaped late in the curing process, leaving bubble defects near the surface.
My repair process was to open the affected areas with a Dremel and refill them with clear epoxy.
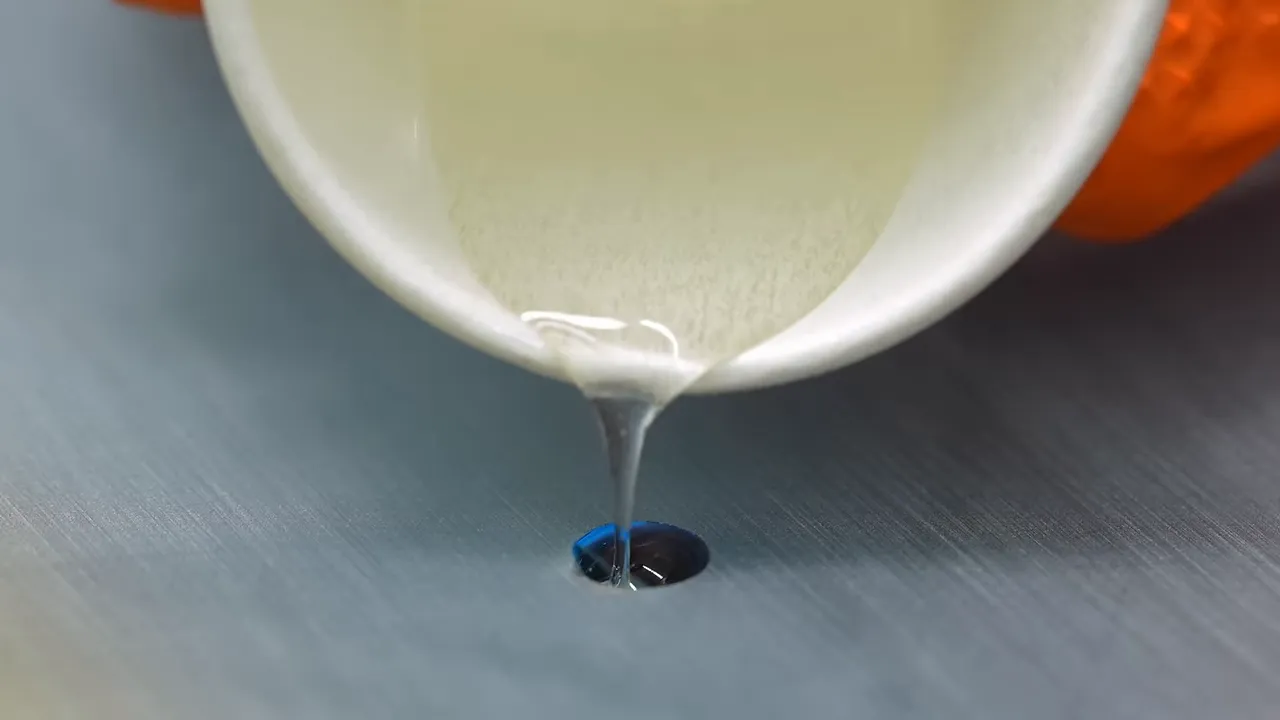
It might seem logical to tint the repair resin blue, but matching such a faint color in a tiny batch is extremely difficult. A slightly over-tinted repair can stand out more than a clear one.
For small bubble and void repairs, clear resin is usually my first choice, even on some black epoxy projects.
A few tiny pinholes remained despite the repairs. I do not consider those a charming feature. I would rather they were not there.
Before accepting the project, I had explained the risks to the customer. A large casting could crack, the skis could be lost, and some microbubbles might remain. I told him I would not charge him for a ruined table, but I could not promise to recover his skis. This was not the place for irreplaceable heirlooms.
He understood and accepted those limitations. That conversation did not lower my standards, but it did establish realistic expectations before anything was permanently buried in resin.
A Clear Coat, a Lot of Sanding, and Finally Some Shine
On a previous solid epoxy table, I polished the resin itself. That involved sanding from roughly 80 grit through 3,000 grit, followed by automotive polishing compounds. It looked great.
For this table, I wanted a more durable exposed surface.
People sometimes assume epoxy must be an incredibly hard finish. Compared with the two-component acrylic coating I chose here, it is relatively soft. My goal was to put a harder clear coating over the casting rather than leave polished epoxy as the working surface.
I sanded the casting to approximately 400 grit before beginning the coating system. The first sprayed material was the compatible sanding sealer, followed later by the 2K acrylic topcoat. Those are separate steps, even if it is tempting to casually call everything coming out of the gun “clear coat.”
For anyone considering a similar finish, the coating manufacturer’s safety instructions matter just as much as the application instructions. Spray finishing requires suitable exposure controls and protective equipment; OSHA’s finishing guidance provides useful background.
Orange peel does not polish itself away
A sprayed finish is rarely perfect straight from the gun, and I am not especially gifted with a spray gun. There was orange peel to flatten before the surface could reach the clarity I wanted.
I initially tried wet sanding with 1,500 grit, but that was not cutting the texture down enough. I had to step back to coarser abrasives, flatten the surface properly, and then work back through the finer grits to 3,000.
That is an important distinction: polishing brings back clarity after sanding; it does not replace the leveling work.
There was enough sanding time for a considerable distraction outside. Charlie’s crew was removing old Lombardy poplars, which proved more entertaining than another pass across this tabletop. Two weeks later, a major storm brought down roughly 15 trees on the property. The sanding, unfortunately, still needed doing.
Once the surface was ready, I used all three stages of a 3M polishing system, beginning with a wool pad. This is the satisfying part: the cloudy, sanded surface becomes nearly crystal clear, and the ski graphics sharpen beneath it.
A Frosted Underside to Suggest Snow
Scott suggested frosting the underside rather than polishing it clear. That would keep the table from being completely see-through and give the skis something resembling a snowy background.
I pitched the idea to the customer, and he liked it.
I had used a similar effect years earlier on a redwood and clear epoxy table. The method was simple, although getting it consistent took some care:
- Sand the underside to 320 grit.
- Follow with a maroon abrasive pad.
- Work evenly across the surface to avoid obvious changes in texture.
The challenge was not making the epoxy cloudy. Sandpaper is very good at that. The challenge was making the cloudiness look deliberate and uniform.
How Not to Attach a Clear Epoxy Tabletop
My normal approach is to weld mounting tabs onto the base and bolt the top down. Here, I wanted to avoid visible hardware through the clear casting. I also dislike driving threaded inserts directly into epoxy because I worry about cracking it.
So I tried a clear adhesive instead.
I expected the cured adhesive to blend into the frosted underside. After about four days, it had done nothing of the sort. There were visible, wavy lines beneath the top, and I did not want the table leaving my shop that way.
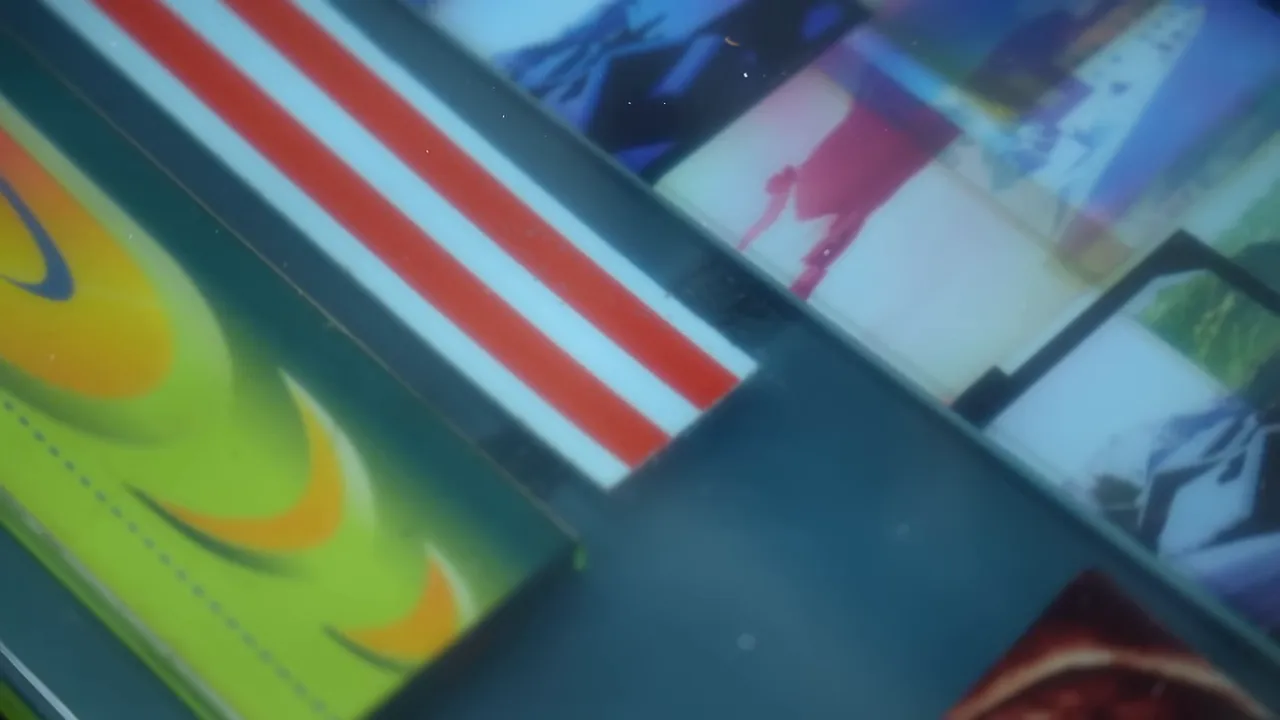
The repair meant removing the top, cleaning off the adhesive, modifying the finished base, and having it powder-coated again.
I was preparing for a difficult separation when the top simply popped off. That was convenient for the repair, but not exactly a glowing review of my attachment method.
I carefully shaved the adhesive from the underside with a chisel plane, avoiding gouges that would make restoring the frosted texture harder. Fortunately, the cleanup went reasonably well.
The Better Solution: Hidden Tabs and Bonded Inserts
The fabricator who built the base, Alias, came to my shop to add mounting tabs. Being able to do that on-site was a huge help because we could position the actual tabletop and locate each ski precisely.
That gave us the solution I should have started with: put the mounting hardware directly beneath the skis, where the graphics would hide it.
We removed powder coating where needed, welded on the tabs, and sent the base for recoating. Alias’s work is available through Nameless Metal Fab.
I still had to install threaded inserts in the epoxy, but I changed how they would be held.
- I drilled oversized holes rather than forcing the inserts tightly into the casting.
- I controlled the depth carefully to avoid drilling through the skis.
- I added epoxy around each insert so the adhesive bond would provide the holding power, rather than relying on the outer threads biting into the cured resin.
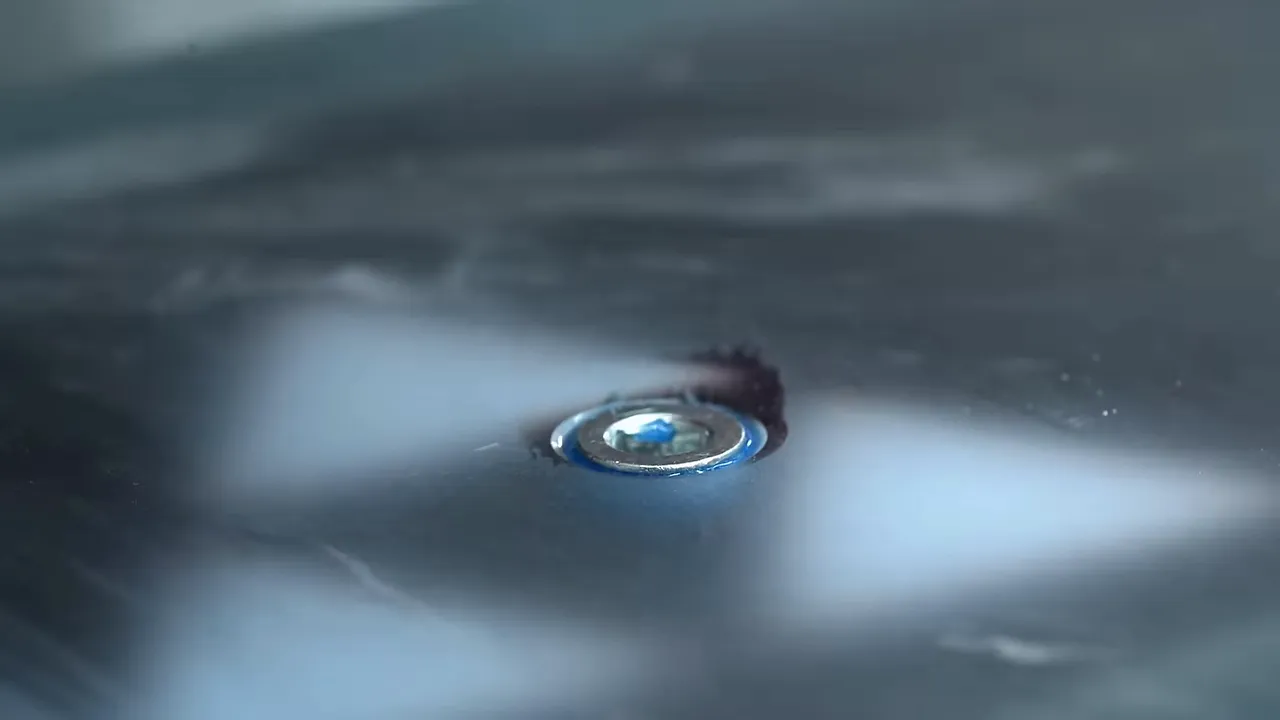
I tinted that bonding epoxy blue because, apparently, I thought it would blend better. I cannot say it made much difference. The important change was the attachment design, not the color.
Final Protection and a Surprisingly Early Delivery
Before final assembly, I applied N3 Nano, a surface-protection product I offer myself. It is something I use on my pieces, not a product another company pays me to apply.
On a clear table like this, I wanted that additional protection against spills, staining, and surface scratches. I also like having a renewable protective layer that can be reapplied as part of maintenance. That does not make the table scratch-proof, but it adds another layer between everyday use and all that polishing work.
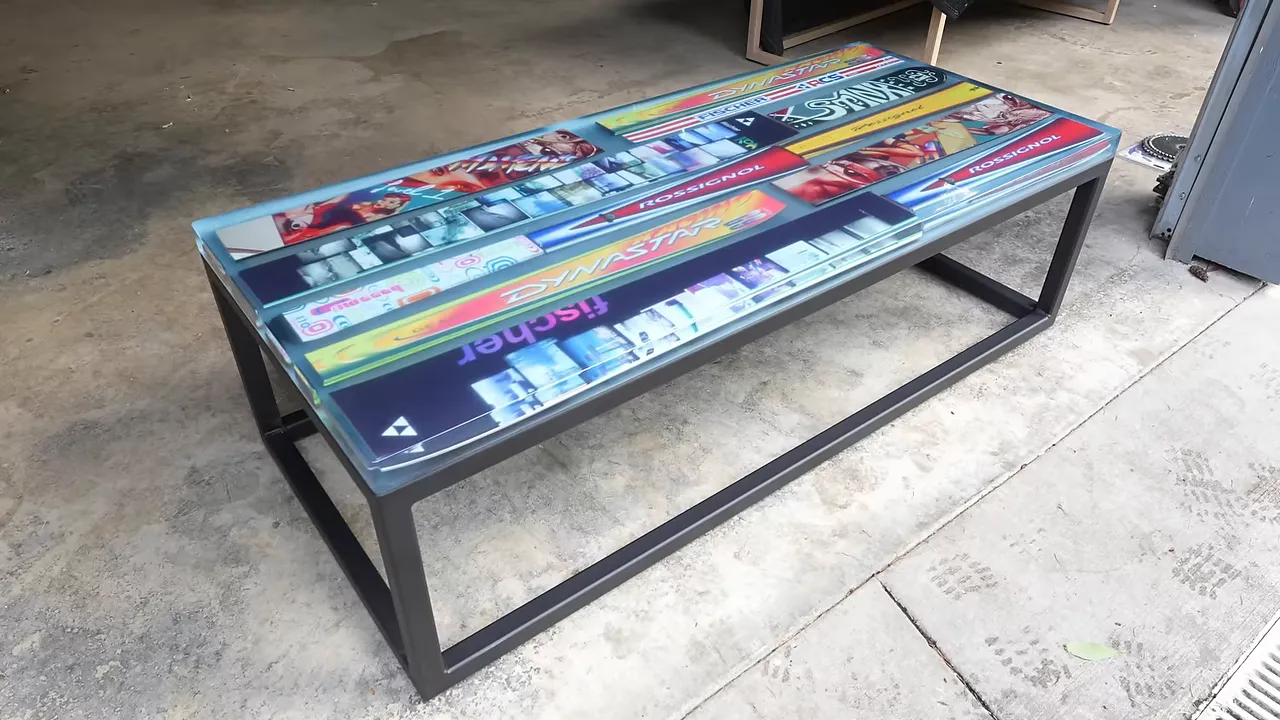
With the base modifications and repeat powder coating, I was convinced I would be late. When I told the customer it was ready, he said he would not be at the Colorado house for another six weeks.
Apparently, I was early.
He offered to have me ship it to North Dakota so he could send it on to Colorado, but that seemed like a lot of unnecessary freight. I kept it in the shop until he was ready.
I am not eager to repeat this build. Clear castings are unforgiving, bubbles are stubborn, and an attachment experiment can turn a finished table back into a project very quickly.
But I am happy with how it turned out, and the customer told me he was thrilled. The skis appear suspended over the frosted underside, the hardware is hidden, and the black base stays out of the way.
He even sent a photo of it in the room. The table was mostly hidden behind the sofa, which confirmed one final thing: he was a better customer than photographer.


